Avatar: How to change your avatar
Hi everyone,
You now have the ability to upload your own avatar (could be any images) via your “Profile”.
- Click on “Profile”
- Scroll down to the “Avatar” section and click on “Choose Image”.
- Browse to the image of your choosing and upload it.
- Once you are completed, click on the “Update Profile” button to make the change effective.
![]()
Thank you!
How to add a post: Tutorial
Hello everyone,
Thought I would put a tutorial for you to start posting on this site. I have give members “Author” role; and you are now able to make/create posts.
As you log in, you may see this window. This is your dashboard where you’ll see what you have posted so far (or about to). All of your posts will be on the left column (black column).
Or you may see something like below instead. See your menu at the top (not the site’s menu)? That’s how you can navigate your dashboard.
HOW TO CREATE YOUR FIRST POTS
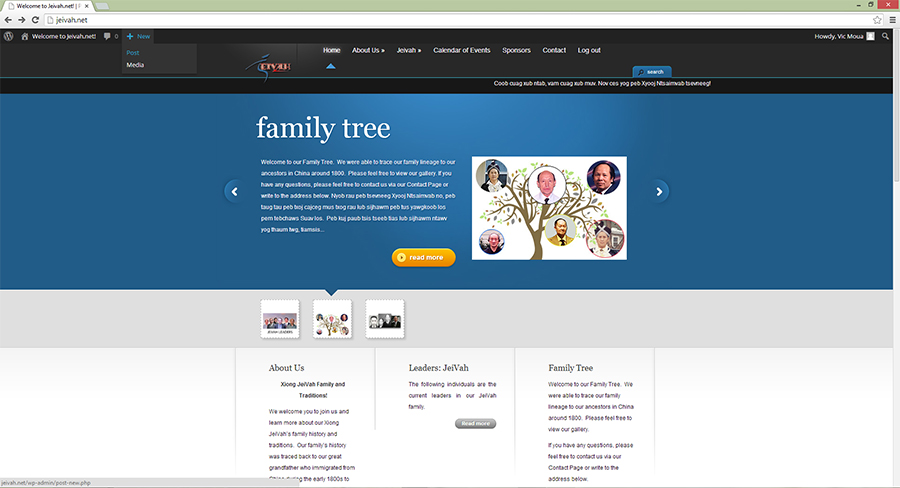
Step 1: Click on the “+ new” icon and choose “Post” (see image below)
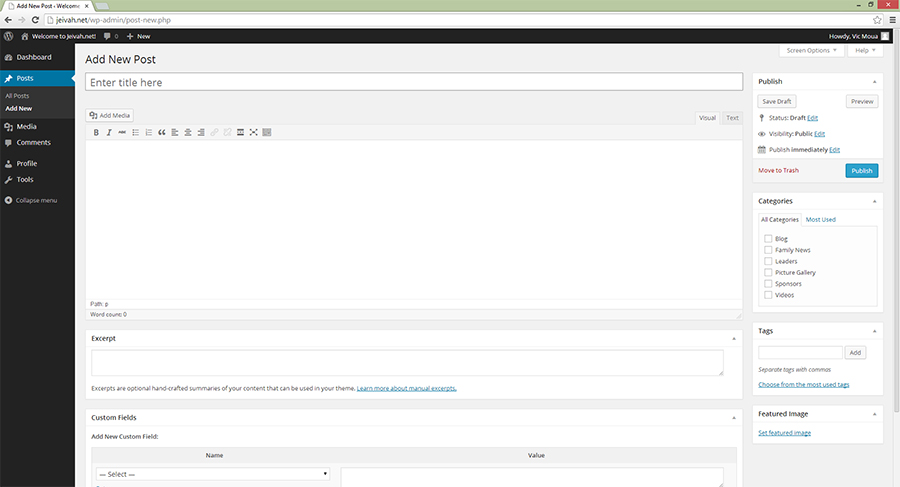
Step 3: Once you are presented with the new screen below, simply fill in the necessary information.
- Fill in the post Title
- Enter your post’s content or message
- Choose the category you want to post to. You’ll most likely just choose “Blog”, “Family News”, or “Picture Gallery”.
- Once you are happy with your post, simply click the “Publish” button at the top right.
- That’s it. Once your post is published, you can view it and others can too.
What if you wanted to add pictures inside of your post? Please read on.
To add pictures to a post, click on the “Add media” button right below the post title. You will see this new window:
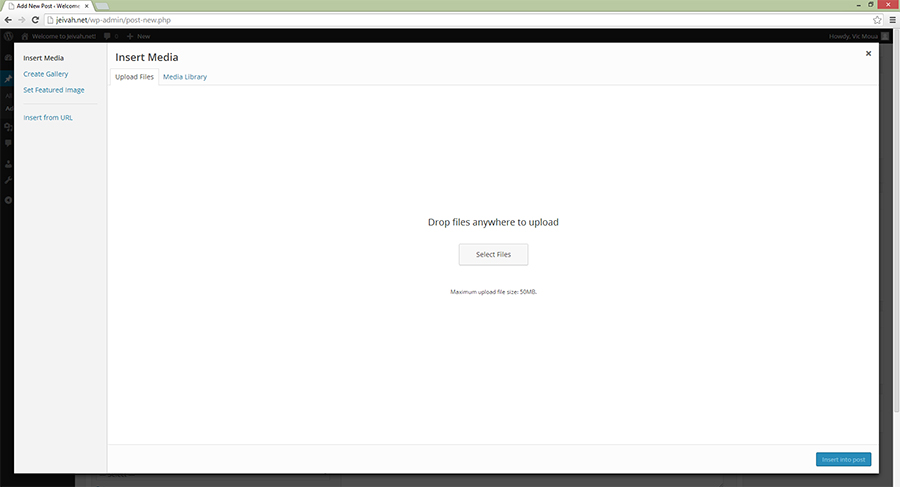
Click on the “Select Files” button and browse to the image you want to upload. Once you have selected the file, the file will be uploaded and made available. It will be the picture with the white check mark. You can change the title or caption, and also its size.
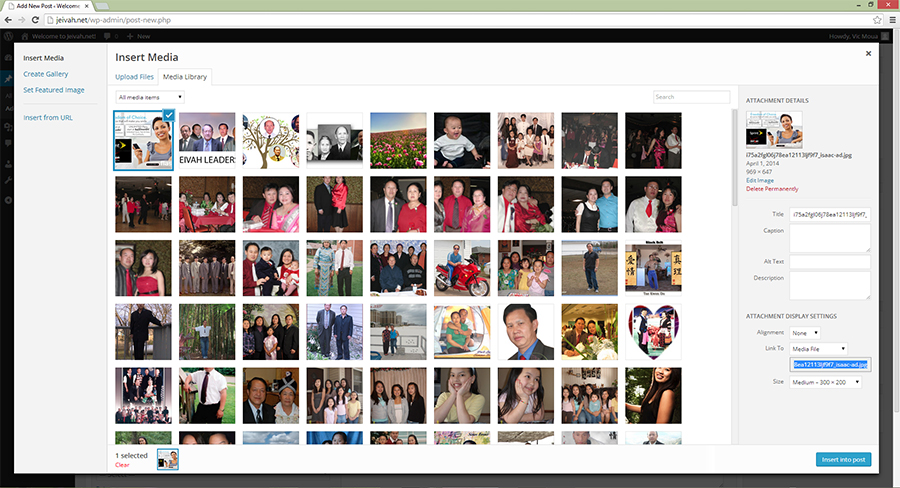
Once you are done, simply click on the “Insert into post” button. And you are done.
Please make sure you choose a category and click on “Publish” to make your post active. I created a “Jeivah Blog” so users can share their thoughts or anything. It is now located under “About Us” as a submenu. Let me know if you have any questions. Or if you have other ways of doing things, feel free to share.
Thank you.